
As an Amazon Associate we earn from qualifying purchases.
If your bathroom is a bit drab, it might be time to replace and update your shower. Adding tile to your shower is a great way to give it a boost, and usually results in an increase in your home value. My guide will walk you through how to tile a shower, step by step.
Contents
How to Prepare Your Shower Wall for Tile
While you can hire a professional to install tile in your shower, learning how to tile a shower is a project that any DIY-er can accomplish, just like cutting up plumbing pipe.
Once you have decided you want to learn how to tile your shower, you should decide what kind of tile you want and whether you want a design pattern.
- You could get smaller tiles, like one-inch tiles which come in sheets.
- Or, you could get larger tiles like subway or 6 inch tiles which come in stacks.
If you would like to go for a fancy effect like a pattern of some sort, now is the time to decide that and map it out.
Also, make sure to measure your shower carefully.
This is especially important for ordering your tile as you need to know how much it will cost to tile your shower.

1. Build the Shower
The next thing you need to do is gut your shower stall. This may sound less like how to build a shower and more like how to destroy one. But, whatever you had there before needs to go. This will include the shower curb, if you are also trying to figure out how to tile a shower curb.
Start by turning off the water to the shower so you don’t accidentally ruin your work. Rip out any old tile, drywall, or surrounds that were on the wall.
Unless you plan to replace the shower pan too, leave it in place. To replace it, you’ll need to re-apply self leveling concrete to the shower floor.
You should get the shower wall down to the bare studs. Remove the demolition debris.

2. Install the Vapor Barrier
A vapor barrier is an important piece, and one which most people are unaware. A vapor barrier prevents moisture from getting into your wall where it can cause mold or mildew to grow.
- If there is not a vapor barrier on the exterior side of your shower wall, then you can run the barrier from floor to ceiling.
- If there is an exterior vapor barrier, then leave a few inches open at the top of the wall. This will allow any moisture that does make its way past barriers to have an escape route. A 4 mil plastic, stapled to the studs should be an adequate barrier.
This is one of the most important steps in a tile shower installation project, as moisture that gets under your tile can ruin the entire project.
3. Install the Cement Board
Next, you will install cement backer board. This is an important step. Cement backer board is a water-proof product on which you will place your tile.
In the past, people used a product called green board. The difference between green board and cement board is that green board is water-resistant. Stick with the cement board. You install cement board the way you would install any drywall product.
- Make sure to apply 100% silicone caulk to any seams between the boards to prevent moisture from getting through.
- Place tape over the seam and feather over it with thin-set mortar. This will even out the surface for tiling.
- Make sure the cement backer board is flush with the shower pan.
- Make sure there are holes in the backer board for the shower head and faucet handles. You may also want to include the curb if you are figuring out how to tile a shower curb.

4. Prime the Areas for Tiling
Once you have installed the backer boards and sealed the seams, it is time to prime your surface. Primer prepares the surface for the tile. It helps keep moisture out, and events the surface so that the tile lays more evenly.
Use a high-quality, water-resistant primer. Paint it over any surfaces you plan to tile. The primer is one more layer to help ensure that moisture does not go were it should not go.
How to Tile a Shower Wall
1. Mark Your Tile Layout
Use a level to measure where you will lay your first course of tiles. You should start from the bottom and move upward. As most surfaces are rarely entirely level, you may have to cut some of your tiles to make sure your first course of tiles is level.
Once you have set your first course of tiles, the others should get easier. Marking your layout for tile is especially important if you will be incorporating a pattern or some sort of decorative tile into your design.
You may also want to make a cardboard template and arrange your tile on there. Use the pattern you have designed for your shower, so you do not have to search for the tile when it is time to mount it in your shower.
2. Prepare the Tile for Mortar
Mortar is essential for a firm and solid foundation for your shower tile. A poor mortar job can result in loose tile that pops out.
Make sure to spend the necessary amount of time on properly mortaring so you have a long lasting shower where the tile doesn’t chip or break over time.
3. Mix the Mortar
You will want thin-set mortar for laying your tiles. For this job, your best bet is to get the mortar in powder form and mix it yourself. You should only mix as much mortar as you will use in 45 minutes, as it sets quickly. This probably means mixing only as much as you need to lay the first course of tile.
When you mix the thin-set mortar, add about ¾ of the recommended amount of water and mix. The mortar will probably be too thick, but you do this so that you don’t make the consistency too watery. You can always add more water, but you can’t take it out.
Speaking of, add the last ¼ of the water until you achieve the desired consistency. When the mortar is appropriately mixed, it should be the consistency of thick peanut butter. Mix well – this should take awhile to get the consistency completely mixed.
I recommend using an electric drill with a mortar mixing bit to mix the mortar to ensure a consistent texture throughout the mix. This will save your arms.
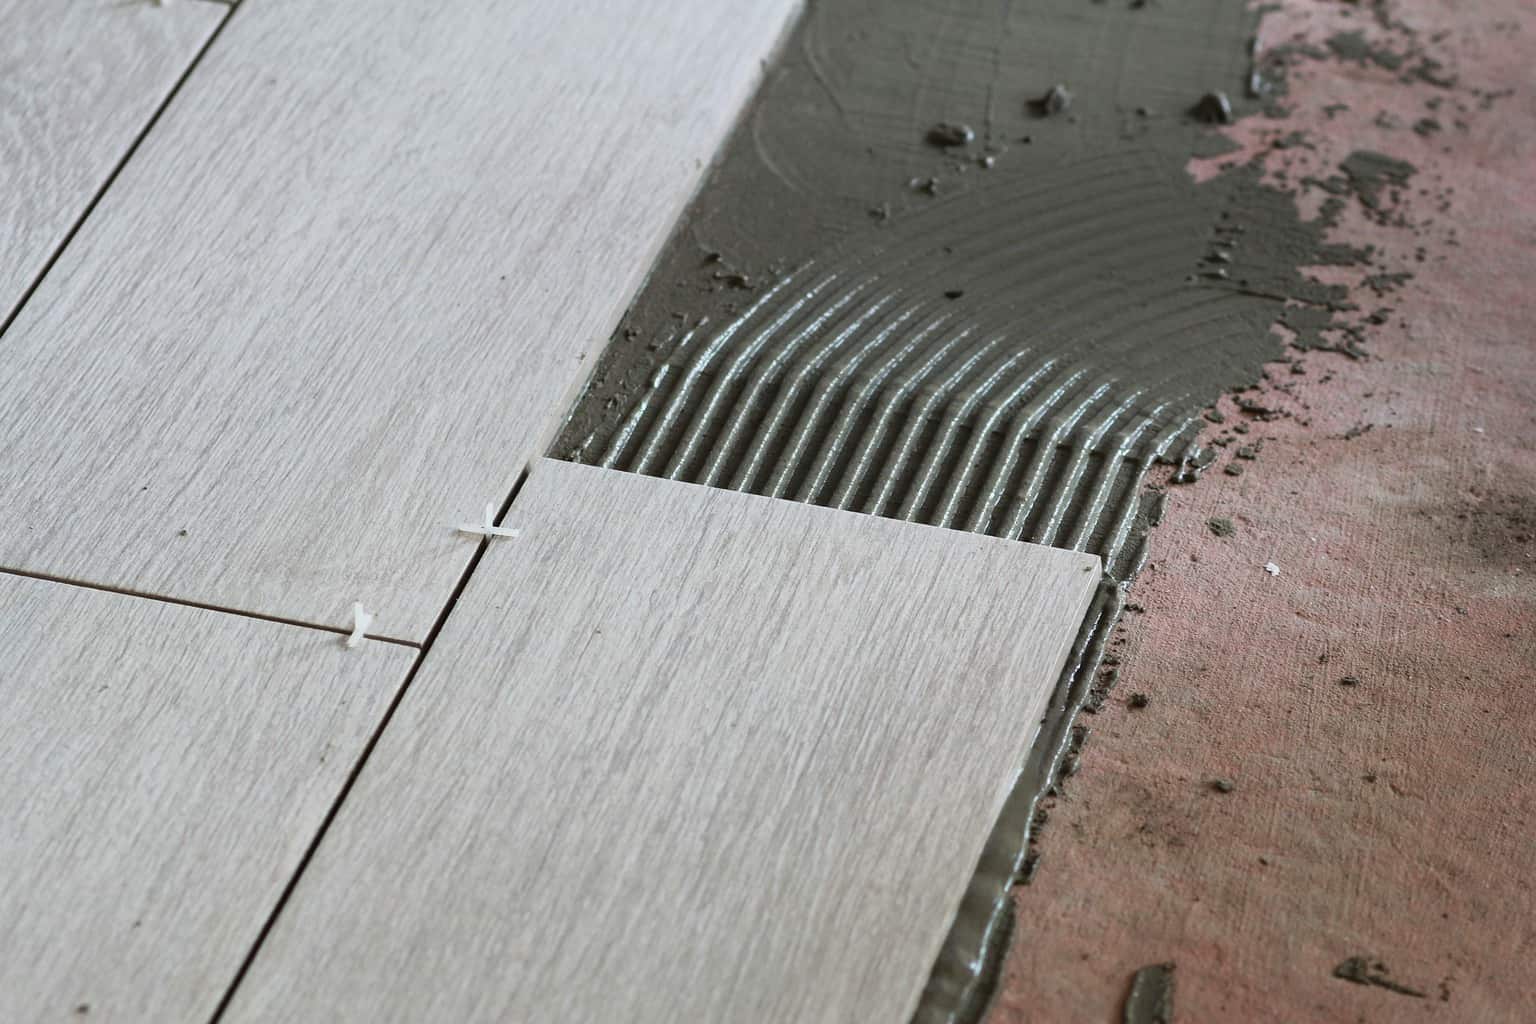
4. Spread the Mortar
If you are working with smaller tiles, you should spread the mortar on the wall where you will be working. Start small, only spreading enough for one or two rows of tile. Once you get the hang of it, you can spread more mortar at at time.
If you are working with larger tiles, you should spread it directly onto the back of the tile. This technique is called back buttering. Spread the mortar using the notched edge of the trowel. Obviously, you’ll only be spreading mortar on one tile at a time.
After laying all the mortar, its now time to start tiling the shower, including the wall and the floor.
5. Tile the Shower Wall
The time for shower tile installation has finally come.
Mark where to set your first row. This will let you know where the center of that row is. Set your first tile at the center. All your other tiles in that row will be set on either side of this tile, creating a symmetrical appearance.
This process of working from the center out to the edges is key in tiling a wall or floor. You don’t want to start at one side of the wall and work your way to other side. You’ll end up with inconsistencies, and it will look like a beginner did the tile work.
Cut your tile one at a time with a tile saw. Unless you are really experienced, it is best to work individually through each tile, from measure to cut to install. While time intensive, it ensures accuracy.
Take time to ensure you know how to use your tile saw to cut tile without it chipping or breaking.
Use tile spacers in between each tile. Once the tile is set, you’ll come back through and pull them out. This space will be where you place the tile grout.

If your shower pan is not level, then the level line you created to mark the top of the first row will mean that some of your tiles need to be cut. You could use a score and snap tile cutter or a wet saw with a diamond blade.
The difference is that the diamond blade saw offers a more precise cut than the score and snap cutter. And, unless your tile is self-spacing, you should use spacers as you set them.
This allows enough space for the grout. Once the first row is set, you should have a level plane on which to set the next row. Do not forget to wipe away any excess mortar from the front of the tiles before it sets.

How to Tile the Shower Floor
Tiling a shower floor is pretty similar to tiling the shower wall. You should be aware the shower floor is slightly sloped to ensure that water runs into the drain.
1. Follow Steps for Tiling a Shower Wall
Otherwise, it is no more difficult to figure out how to tile a shower floor than it is to figure out how to tile a shower wall.
2. Let the Tile Set
Once your tile is in place, let it set for 48 hours. This should be just long enough for the mortar to set. You will then know it has properly adhered to both the tile and the backer board. You should leave the spacers in during this time.
Don’t walk on the tile, and make sure no moisture gets into the area. In many ways, this can be the toughest part of the project, because you can’t use much of your bathroom for an extended period of time. If this is your only shower, you might have to stay at a friend’s house for this period of time.
You can help it set a little faster by ensuring there is air flow over the tile. Open a window to create a draft, and set a box fan in the room. This will help the tile to set and dry faster.
How to Grout Your Shower
With your tile installed, its easy to feel like the project is done. However, you still have to add the grout.
1. Pick the Tile Grout
Your next step, after the tile has set and you have removed the spacers, is to grout the tile. Grout is vital for holding your shower tile firmly in place.
- If you have more than 1/8 of an inch between your tiles, then you should use a sanded tile.
- For tile spaced less than 1/8 inch apart, use unsanded grout.
As grout comes in a variety of colors, you should have also decided on a grout color that suits your tile. Make sure to spend the time picking the best grout for your shower tile before starting the job.
2. Grout Your Shower
Mix only as much grout as you will use in about 45 minutes so that it does not begin to set before you have used it. You can always mix more grout as you need it.
- Spread the grout over the tile with a grout float.
- Make sure to hold the float at a 45-degree angle and wipe the grout diagonally across the tile.
- If you move the float vertically or horizontally, you run the risk of the edge of the floater digging out the grout that you have just laid.
- After laying the grout, take a damp grouting sponge and wipe the excess grout from the tiles. A grouting sponge is a sponge that has rounded edges. This should also be done at a diagonal.
- You will probably need to rinse the sponge often. Make sure it is not too wet or it will undo the work you have just done.
- After you have finished grouting, you may find the tile has a grout “haze” on it. You may need to give it another swipe with a clean and very lightly dampened rag. A Mr. Clean magic eraser does a pretty good job. There is also a specific haze cleaner for just such occasions.
3. Seal the Grout
Let the grouted tile set for the next 48-72 hours.
Then, rub grout sealer into the grouted tile. Let it set for approximately 10 minutes. Test your seal by getting the grout wet.
If the grout has been sealed properly, the water should bead up on it. If it does not bead up, try sealing it again.
How to Finish Your Tile Shower
When everything else is done, caulk around the shower pan with a grout caulk that matches the grout you chose. Make sure to hold the caulk at an angle and move quickly along the joint you are caulking, so the caulk does not pile up on itself. After you lay the caulk, run a damp finger along the bead with a light pressure.
Be sure to pull the caulk gun trigger quickly enough for the speed at which you are laying it, so you do not end up with gaps in your caulk. It generally takes between 24 and 48 hours for caulk to dry. Read the manufacturer’s instructions to be sure.
You might also want to drill into your tile to install a soap tray, which is another small project to tackle.

Clean Up
After your caulk is dry and everything is done, remove any construction debris from the shower. You can paint or stain over the caulk if desired (although it isn’t recommended).. Wipe it down one last time to make sure there is no additional residue you may have missed earlier.
The last thing you want when you step into your beautiful new shower is a dirty new shower. You should take special care to make sure there are no slivers left in the shower from cutting tiles, so you do not end up cutting your feet.
How High Should Tile Go In a Shower?
Traditionally, tile shower walls should go up to a minimum of 6 feet high from the base. It isn’t uncommon to go a little higher, potentially up to 6 feet 6 inches.
Some showers feature floor to ceiling tile walls. In this case, the tile would go 8-10 feet high.
Your city might have codes that specify exactly how high the tile wall must go, and its best to check your local resources.
The reason height is important is because tile will prevent water from getting into the wall. You need to have a shower wall that is high enough to stop water from getting behind it.

Conclusion
Anyone can learn how to tile a shower. Make a plan, pick out your tile, and create your design. Take out the old shower stall down to the studs and install backer board to give yourself a clean surface to work with.
Once you have laid the tile, and grouted it, all that is left is to wait for it to set. Then you can enjoy your beautiful new shower.